I know I promised a post on the giant Rapunzel wig last week. But it's been a hectic week at the space station. Coloring has begun on CALAMITY JACK, the sequel to RAPUNZEL'S REVENGE.
Coloring is the final step in my graphic novel work schedule. My order is: pencil sketches>lettering>ink>coloring. Unfortunately, the coloring tends to take the most time. For Rapunzel, I ended up coloring for four months straight. This year, I'm bringing in some help.
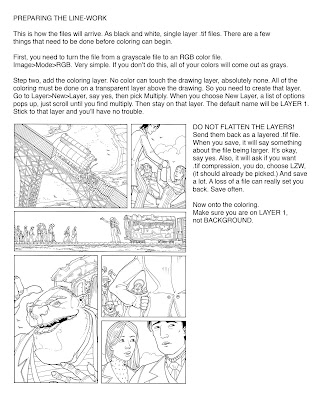
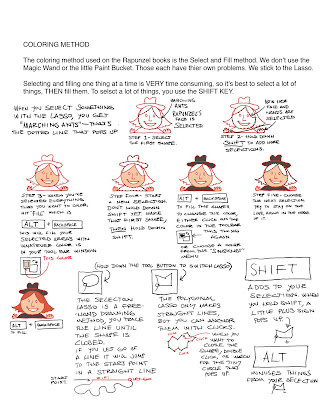
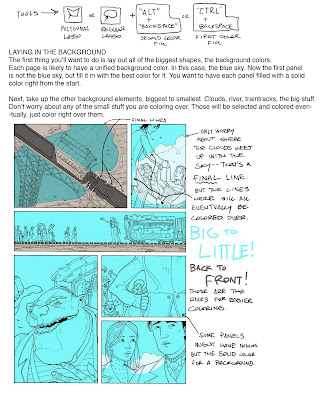
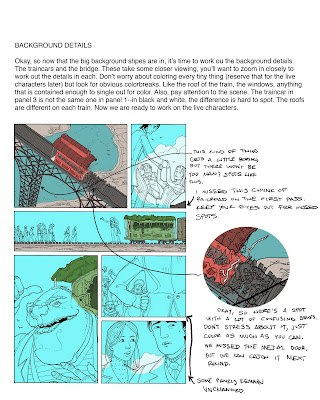
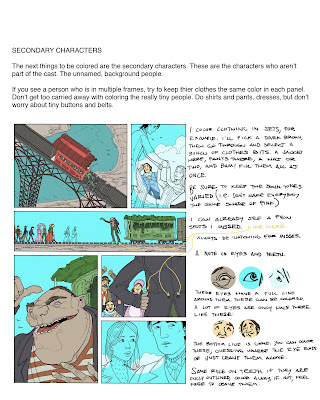
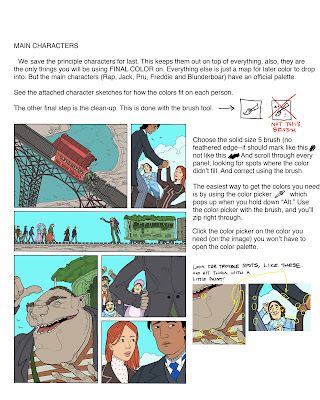
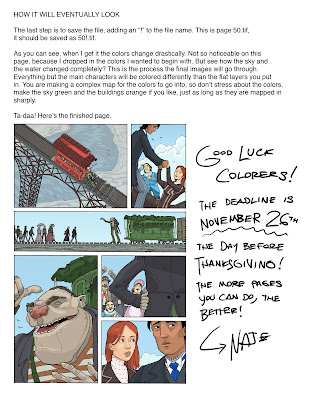
I've got a team of five Color Mappers! They range from Photoshop experts to Photoshop beginners. To clarify the process, and to help the beginners, I created a RAPUNZEL Coloring Tutorial. I made it for the color mappers, but I thought you might like to see it too. It features a sneak peek of CALAMITY JACK (possibly the most boring page in the book) and might be helpful to anyone who wanted a simple way to digitally color an ink drawing.
Now there are a million ways to lay out flat colors, this is just my method. It's based on my experience coloring Rapunzel, as well as a few different books. There was a mountain of valuable information in Mark Chiarello and Todd Klein's DC Comics Guide to Coloring and Lettering Comics, I also found some handy tricks in a book called Japanese Comickers 2.
When I started inking Rapunzel, I had planned to color the book by hand, with watercolor. Didn't happen. For all of its slowness, Photoshop is still faster (and more forgiving) than watercolor. One day...
Okay, here's the tutorial--you'll have to click on each page to read the small print. I hope it comes in handy. Next post will be about the wig I promise.
